How to Create Actors and Associate them to Videos
Creating new actors is straightforward and can be done in two ways.
The most common way to create an actor is to find an appropriate scene thumbnail to use as an actor portrait, right-click and then choose "Use image for New Actor portrait". This will also help you associate your actor as a cast member with the video.
You may create actors and associate them later if that suits your workflow better. You can easily add multiple actors to a video by dragging actors from the Actors window to the Cast window.
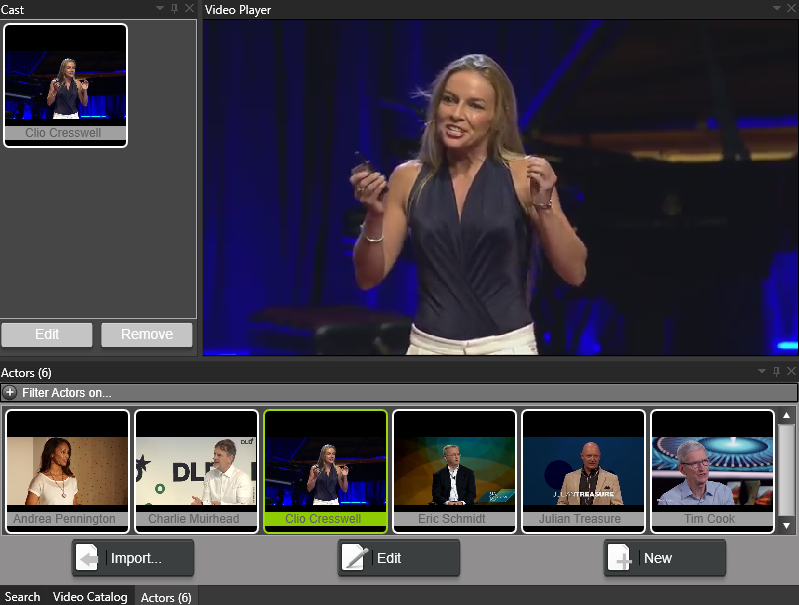
An actor portrait can be added from a file by dropping or pasting from the clipboard. Drag-'n'-drop also works from standard web browsers: drag an image from the browser window onto the Actor window. With the Paste Image option, you can copy any photo from anywhere and use it here. This is especially useful when working with cleaning up portraits in a paint program as you are building your video catalog. If you use Photoshop, copy from Photoshop, and paste it into the program without needing to save as a temporary file.
Actors may also have companion images. Companion images have been added either File by File or by folder.
When you select a folder as a companion image source, that folder gets scanned every time the companion images are displayed. If you add many folders to an actor, this can negatively affect how responsive the program becomes. The upside of using folders is that you can drop more files in the folder later, and your video catalog will automatically pick them up.
An actor's companion images are displayed in the Companion Images window for all of a video's actors. In Preferences, you can select if a video should or should not use actor companion images. There is even an option to use actor companion images only if the video itself doesn't have companion images.