
You can transcribe research interviews without uploading them in two ways. Type them yourself while you play the recording, or run speech-to-text on your own computer. Typing takes four to six hours for every hour of interview. Cloud services such as Otter, Rev and Trint are fast, but they upload the recording to their servers. Many ethics boards and consent forms do not allow that. Speech-to-text that runs on your own PC gives you a draft transcript in minutes, and the recording stays with you. This guide shows how to do it on Windows with Fast Video Cataloger, and how to search every interview in your study once they are transcribed.
What you need
- Your interviews as video files. Recordings from Zoom and Microsoft Teams are video files (MP4), and so are interviews filmed on a camera or a phone.
- A Windows 10 or 11 PC.
- Fast Video Cataloger. The free 30-day trial is enough to transcribe a whole study.
Fast Video Cataloger works with video files. It does not catalog audio-only recordings. If you recorded on a voice recorder and also filmed the interview, you can transcribe the voice recorder file onto the video (see step 3).
Step 1: Put the study in a catalog
A catalog is a file that holds the thumbnails, transcripts and keywords for your videos. The videos stay where they are. Make one catalog per study to keep each study’s material apart.
Click New… and then Create to make the catalog. Then add the folder with your interviews. Fast Video Cataloger indexes each video: it makes thumbnails and, once step 2 is done, the transcript.
Add keywords as you go, for example the participant code, the site or the interview round. You can then narrow a search to one group of participants.
Step 2: Turn on speech-to-text
Open Preferences and go to the Video Indexer tab. On the Transcript row, tick Enable speech-to-text transcription. Every video you add from now on is transcribed when it is indexed.
The program comes with an English speech-to-text model. For interviews in other languages, download the multilingual model:
- Open the File menu, go to Maintenance and choose AI Models.
- Find Speech-to-text Small – all languages and click Download. It is about 490 MB.
- When the row says Active, transcription uses it.
The multilingual model covers about a hundred languages. It is also more accurate on English, but slower. If all your interviews are in one language, choose it in the Spoken language list. Interviews in another language can get an English transcript: tick Translate to English under the list.
Videos you added before you turned transcription on are not transcribed yet. Select them, right-click and choose Index > Transcribe Audio.
Step 3: Use the best audio you have
Clear speech close to the microphone gives the best transcript. Background noise and people talking over each other make it worse.
If you filmed the interview and also recorded it on a lavalier or a voice recorder, transcribe the better recording. Select the video. In the transcript window, click Add and choose the audio file. WAV, MP3, FLAC and OGG work. The transcript is stored on the video. If the recorder was started before the camera, the lines are off by that difference.
Step 4: Check and correct the transcript
Speech-to-text makes mistakes. Names, places and the terms of your field are the usual ones. Read the transcript against the recording, as you would with any transcript.
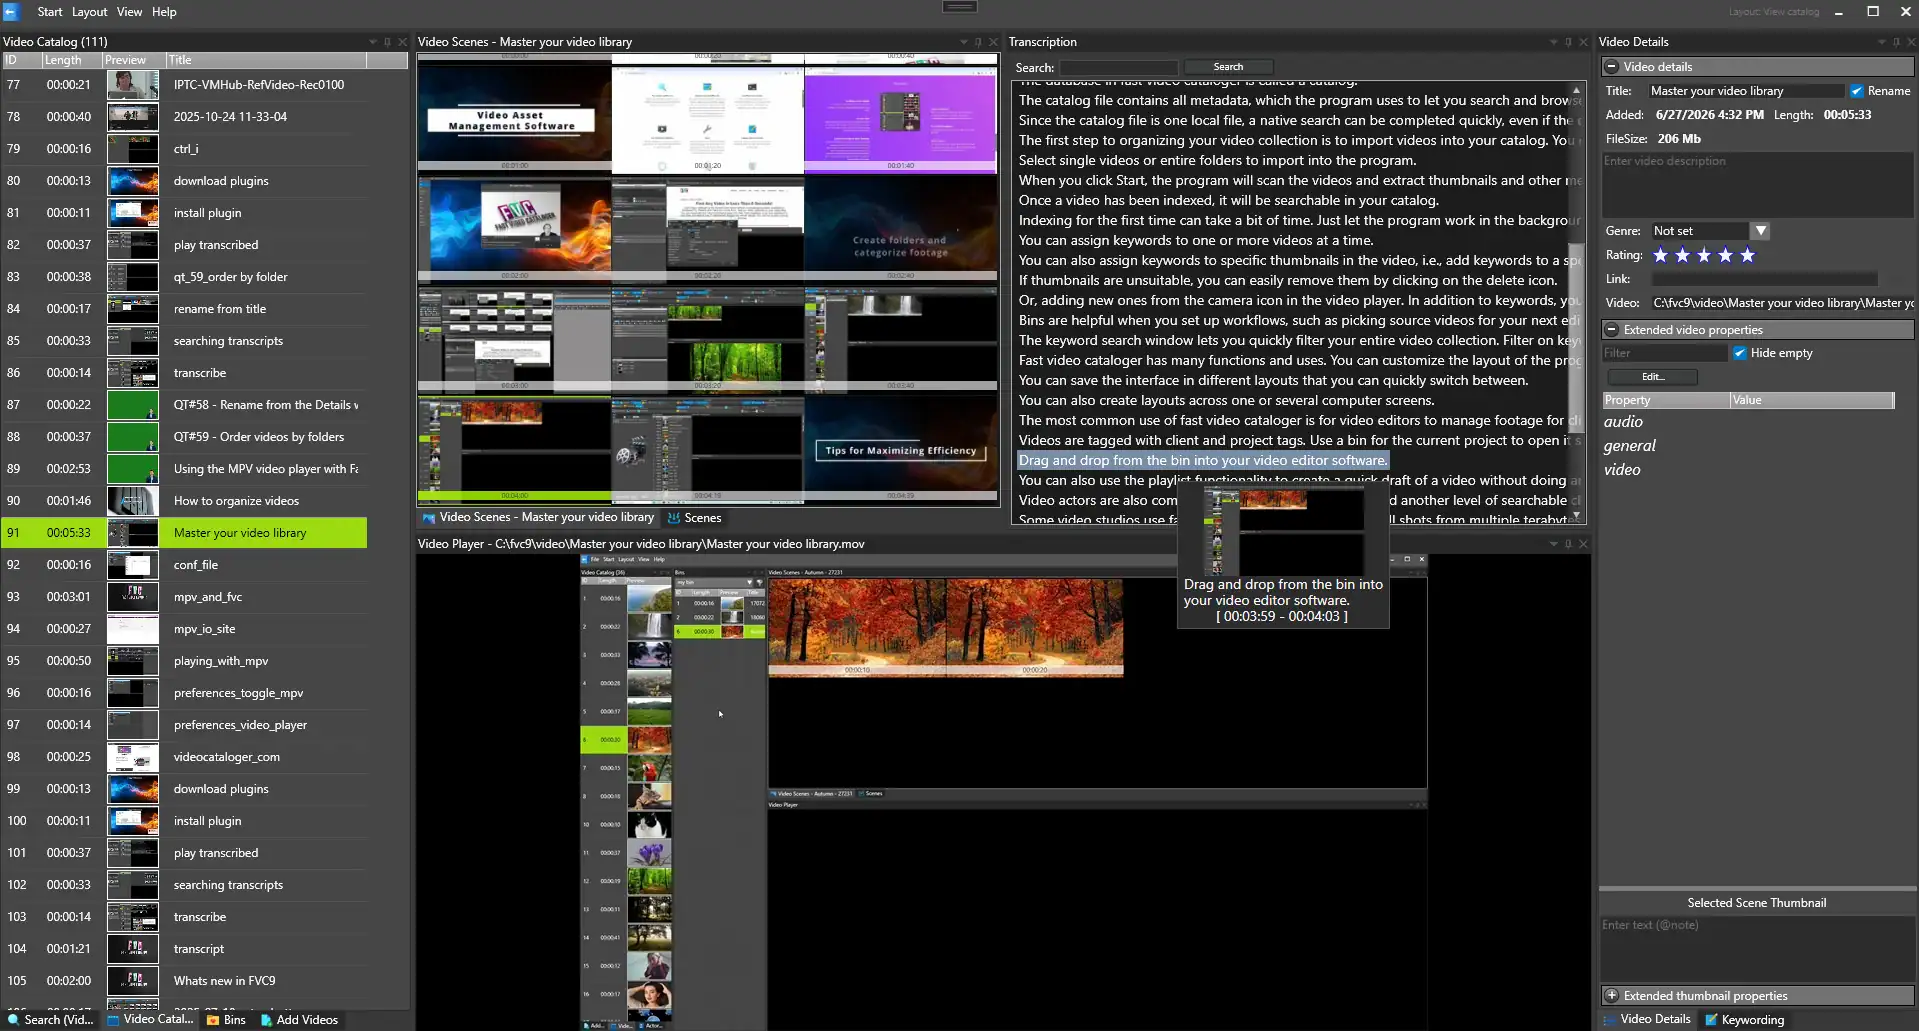
Click a line and the video plays from there. While it plays, the current line is selected and kept in view.
- Edit a line: right-click it, choose Edit text, correct the words and press Enter. The line keeps its times.
- Delete a line: right-click it and choose Delete line. Use it for a line made up from noise.
- Replace a word everywhere: click Replace… at the top of the transcript window. Type the word and what to write instead, and choose In every transcript in the catalog. You see how many times it was found before anything changes.
Replace also works for pseudonyms. Replace a participant’s name with their code in every transcript at once. It changes the transcript text only. The name is still spoken in the recording.
Your corrections are kept. Re-indexing a video does not overwrite a corrected transcript.
Step 5: Search every interview in the study
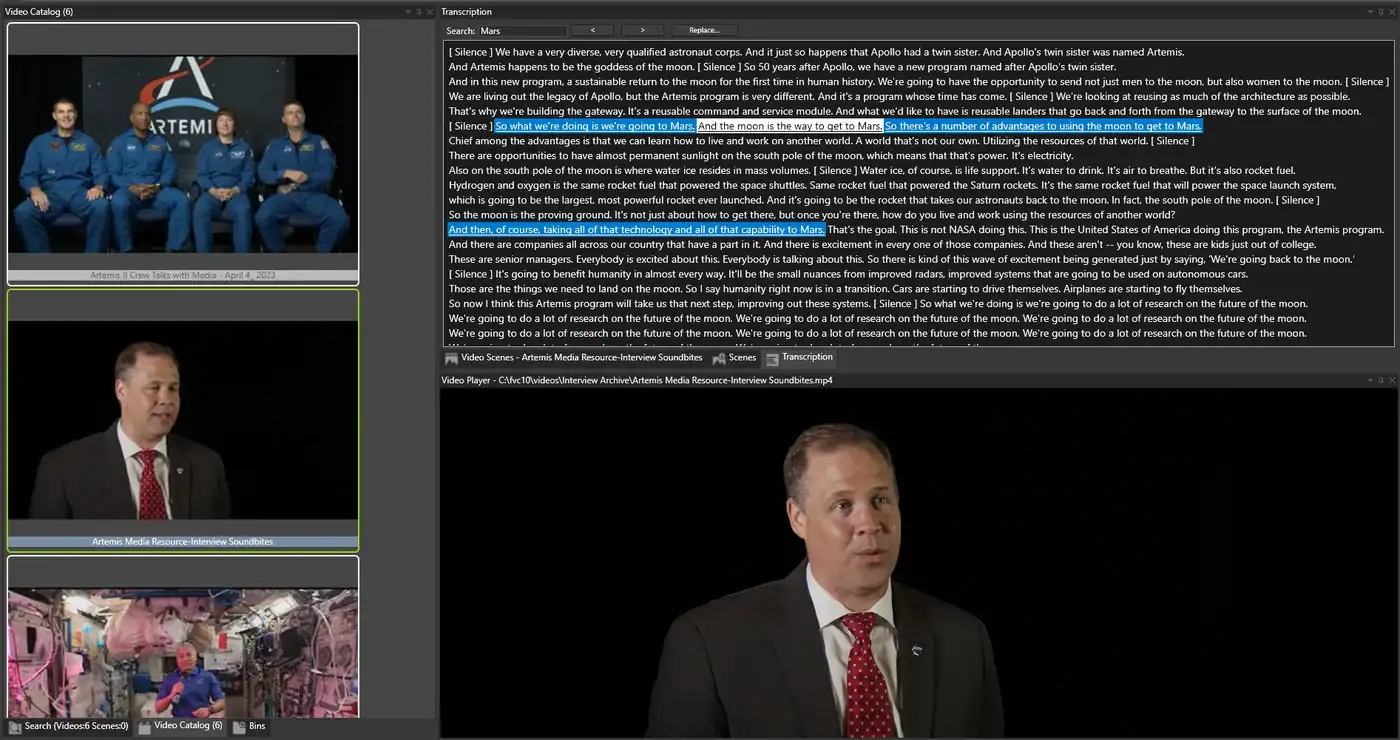
This is where a catalog differs from a folder of transcript files. Open the Search window and expand the Transcript section. Type a word. The list shows every interview where it is said.
Select an interview in the results. The transcript window opens with your word filled in and the matching lines highlighted. Use < and > to step from one match to the next. The video plays each one, so you hear how it was said, not only what.
The search matches whole words. “fund” does not find “funding”. Search for each form you need.
Combine the word with your keywords to search one group, for example only the second interview round. Right-click a line and choose Add to playlist to collect the answers on one theme and play them back to back.
What it does not do
- It does not replace coding software such as NVivo, ATLAS.ti or MAXQDA. Use it to transcribe, check and search your interviews.
- It does not catalog audio-only recordings.
- It makes a draft transcript. You still check it against the recording.
One more thing to know. Fast Video Cataloger can connect to an AI assistant such as Claude. If you connect one, the transcript lines it reads are sent to the assistant. Leave it off for confidential interviews.
Watch it
The tutorial shows how to choose a speech-to-text model, turn transcription on and search transcripts.
Every transcription setting is described in the help: Transcribe Videos. For the full search workflow, see how to search video files by spoken words. For what Fast Video Cataloger does for interviews beyond research, see interview transcription software.
Try it on your own interviews
Transcribe one interview from your study and search for something you remember the participant saying. Download Fast Video Cataloger and use the free 30-day trial.