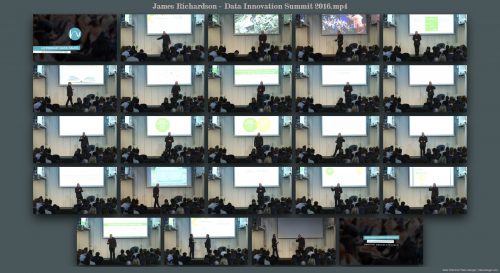
Export Contact sheet image
Contact sheet images are great for overviews of a videos. It flattens out the serial boundaries of video that can be a huge time waste when browsing for a specific piece of content. This solution is actually one of the cornerstones that we have built fast video cataloger upon.
It is really quite simple. All you need is to click Export video as Contact sheet under the File/Export menu. The wizard takes you through the process of exporting the currently selected video as one contact sheet image. All the way to the save as a JPG.
It would not be an informative blog post if it ended here. So let’s go through it in detail. In my example I have used a presentation from a seminar I watched online. By producing a contact sheet image, I got a printable and easy to use note for my memory of the content. This can be very effective if you are a person frequently visiting seminaries and coming home without notes or coming home with scrabbles that are difficult to put into context.
There are a lot of options and actually pretty entertaining to create the images. Please note that the tool works with the video scene thumbnails in your catalog. Before you start make sure that your thumbnails actually represent the video in a good way since they will all be there. Have a look before you starts and if you need more thumbnails add them to your catalog by re-indexing the video or add them with the “camera” icon or burst capture. Don’t forget to remove the ones you don’t want.
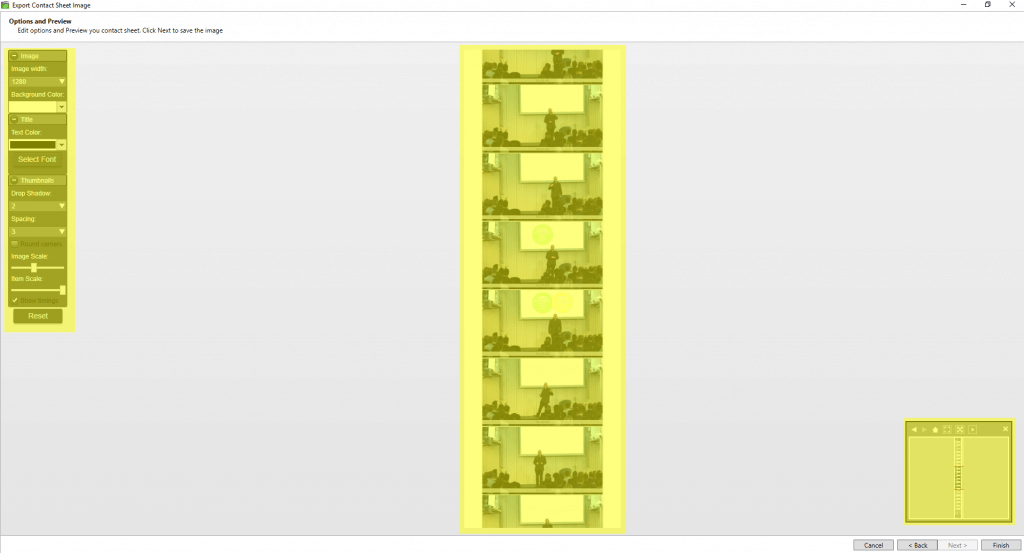
The work area in the wizard is divided in 3 parts, a navigator in the bottom right, an options menu at the top left and the instant preview of the finished result in the middle. As seen highlighted in yellow below.
The options menu
We have provided the standard widths (800,1024,1280,1600,2048) as options in a drop down to make is easy to produce pretty contact sheet images. By changing the background color, font and text color to fit a desired graphical look you can make the image contact sheet blend in with your other company documents. In the thumbnails part we have added option to scale images and dress them up a bit with round corners, shadow and spacing in between images. You may also choose to display time of thumbnails or not.
The Preview
All the changes you make are available instantly as a preview. Whatever you may think of the proverb “Seeing is Believing”, there is no argument that seeing the results of the option changes you do is the best way of learning how to use this tool. I strongly suggest to simply play around for 10 minutes as a the first thing you do to as a crash course. You can always start from the beginning again if you do not like the result of your first try.
Navigator
All the zooming and panning of the contact sheet preview is done in the navigator. It provides a fast and easy way to make sure all parts of the video look as you expected with the options you have put in. You may grab and move or resize the red square to navigate or zoom your preview. The UP arrow zoom in on the first thumbnail while the BACK and FORWARD arrows step through the different navigating positions you have had. Left button zoom out to show you all content in the preview. Middle button fills out the width of the preview window and the right button takes you to the middle of the preview without zooming in or out.


